

Construction of a BATmonitor
Present mini-project will develop a Battery monitor using an Arduino Uno R3 and the uCANca tools.
To build a testable circuit, we will implement a solution like this one:
http://arduino.cc/en/Tutorial/ReadAnalogVoltage
After we have played with the potentiomenter, the idea is to switch the input to monitor the battery level of a robot or toy controlled by the Arduino.
Project creation
We will create a project called BatMonitor in uCANca.
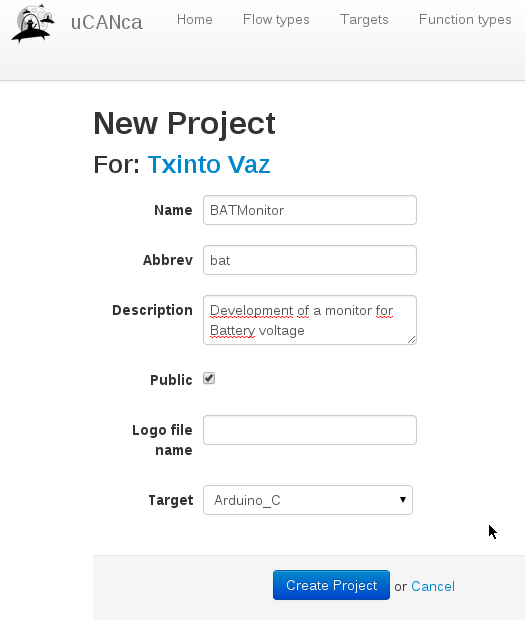
And add ourselves as team member (as contributor).

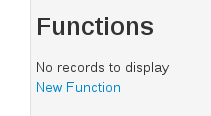
Functions specification
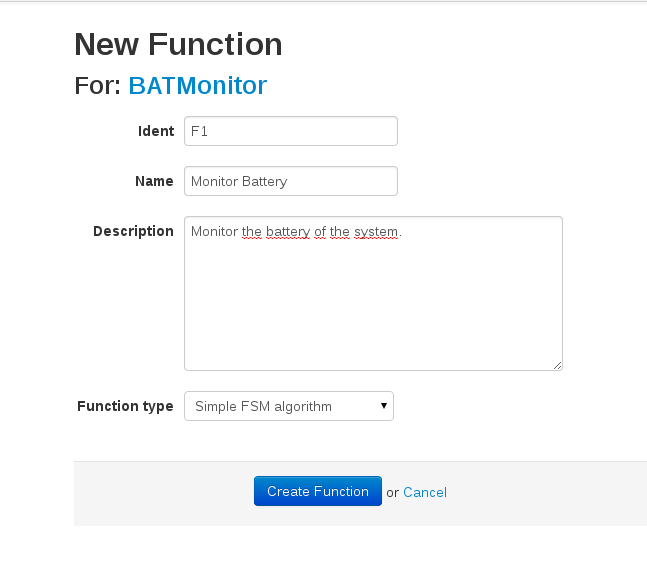
Add the main function of the system: Monitor the battery voltage value.
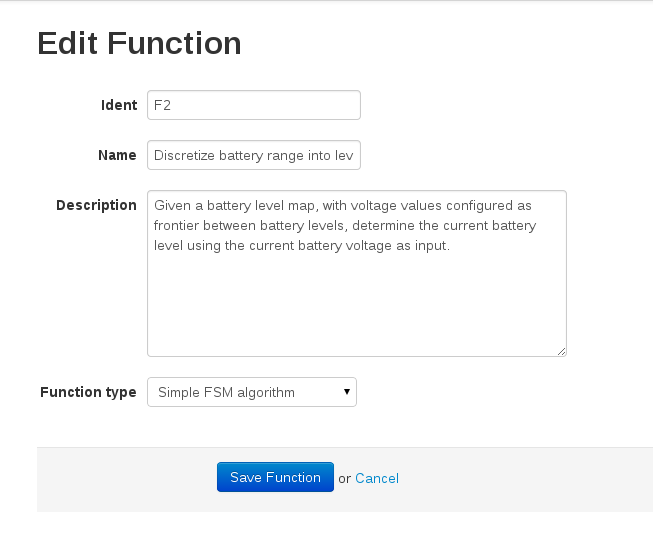
Add the secondary function of the system: Discretize battery voltage values into different battery ranges.
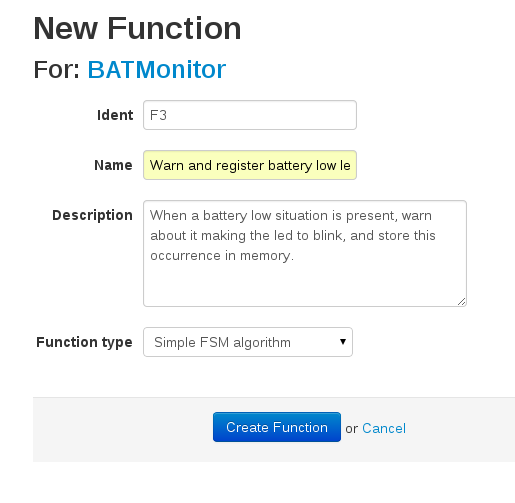
Add a diagnostics function on battery: Warn (and register) battery low levels.
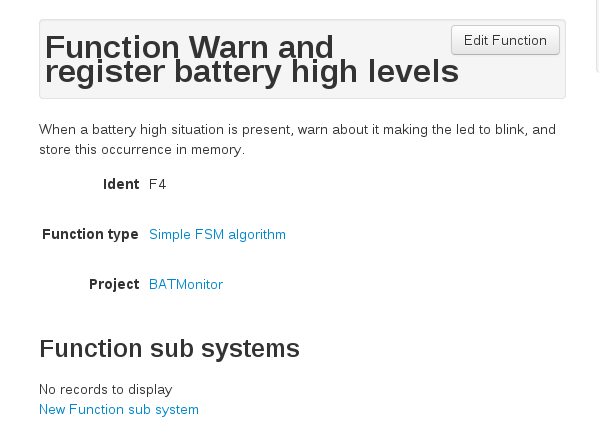
And another diagnostic function for battery high: Warn (and register) battery high levels.
As summary:

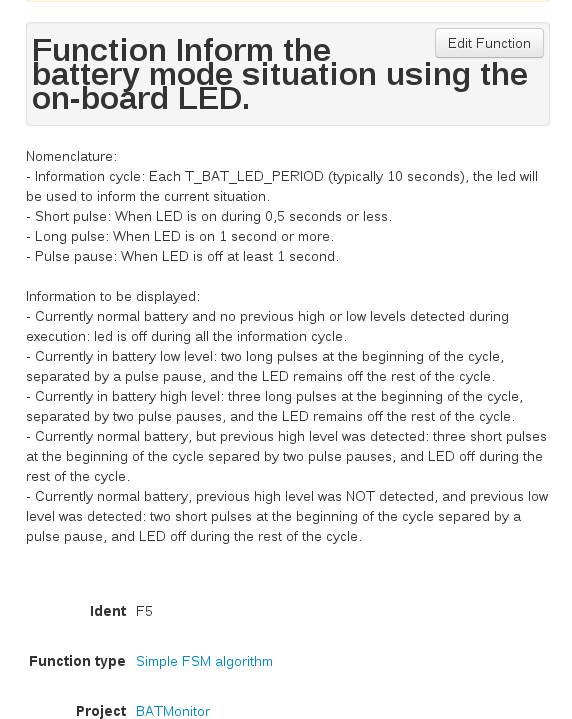
To make the system more testable, we will introduce a function that uses the LED to inform of the current situation of the system:
Technical concept
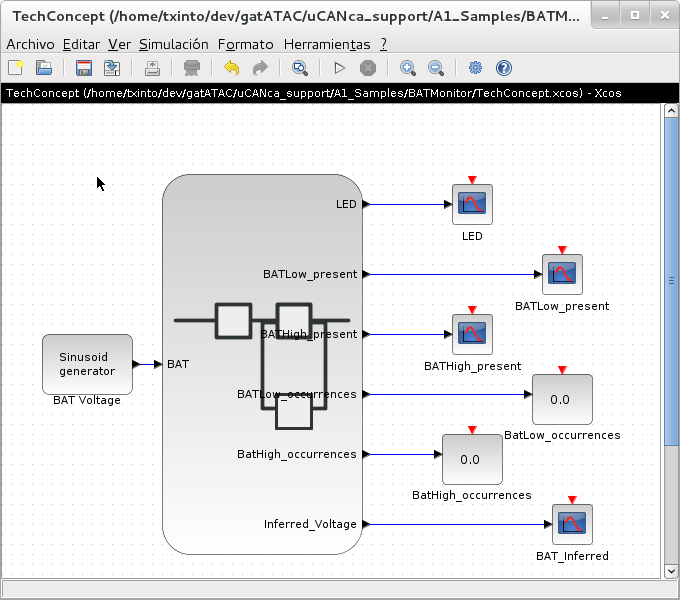
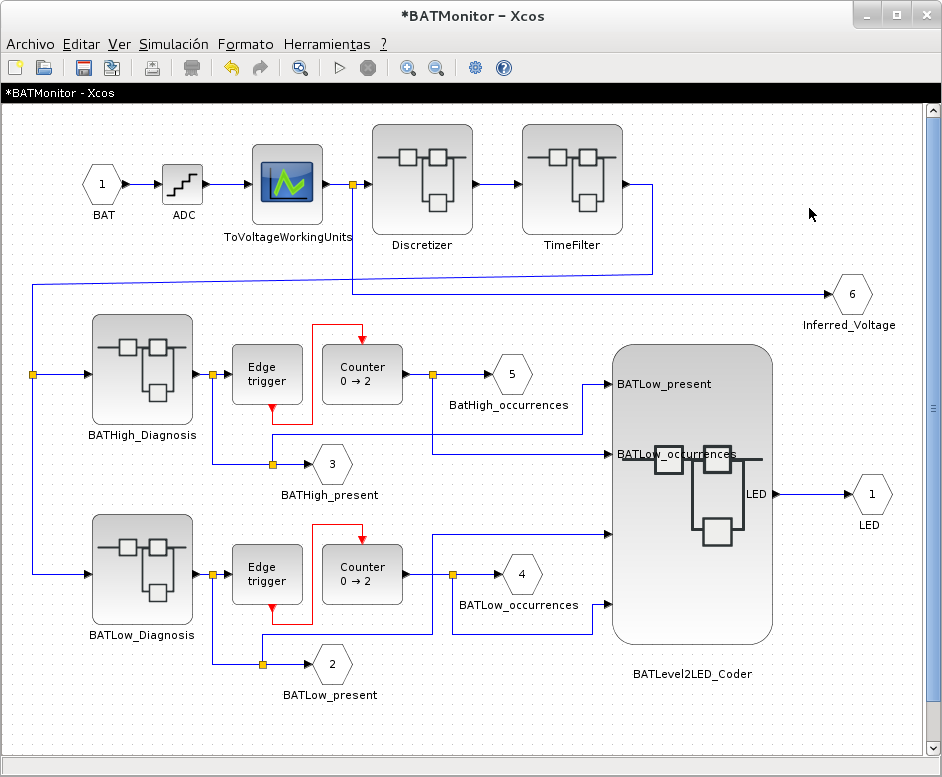
We will use an arduino uno R3 as microcontroller containing the software. We will have a module that reads the input from the ADC and infers the voltage value (as described in F1). Another module will select the current unfiltered battery level (as described in F2). Then a time filter will be applied to select stable values of battery levels (debouncing system for F2). No hysteresis, just time filtering. After that battery level is selected, a FSM algorithm will determine if the high/low battery level failure is present (after qualifying for a certain time in the specific low/high range), or has dissapeared (as described in F3 and F4). The FSM will also save the occurrence. And finally there must be another module that will control the blinking LED (according to F5).
We can use a tool like XCos or yEd to make and understandable diagram of the desired solution technical concept.
In this case we will use XCos:
Using uCANca specification spreadsheet for 1D Discretizer
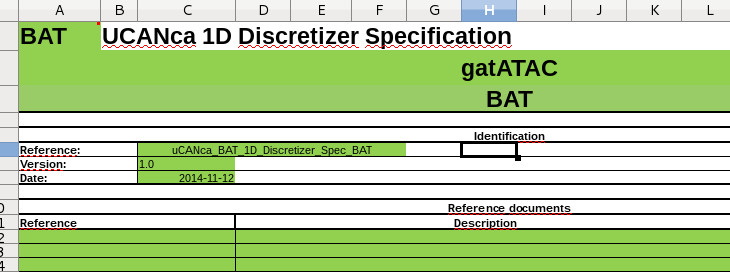
We will use the Calc spreadsheets for specification spreadsheet for 1D Discretizer specification in order to specify the BAT ranges to be considered in our system.
This document will automatically generate code and diagrams from the specification.
We must sustitute XXX by the project name abbrev (just use BAT) and Sample by the name of the magnitude to be discretized (in this case, BAT again).
The file name will be renamed as: uCANca_BAT_1D_Discretizer_Spec_BAT.ods
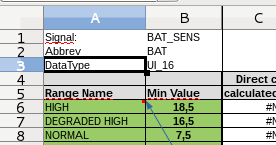
We will also rename the tabs and abbrevs inside the file to match this convention.

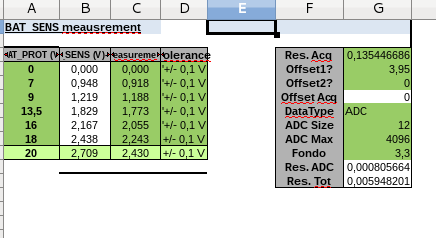
As we don’t know by now the transfer function between the external battery and the voltage in the ADC, let’s keep the table values, they will be good for playing with the input potentiometer.
These values will finally depend on the hardware we use for sensing the battery. Typically it will be a voltage divider like the one described here (credits for the author of the article): http://www.groverfamily.org/solar-powered-basement/solar-panel-monitoring-system/

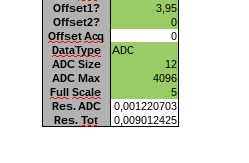
But the important thing to change is the “full scale” of our ADC (for Arduino is 5V):
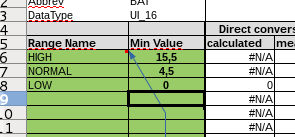
Then we will define correct BAT level frontiers for our application:
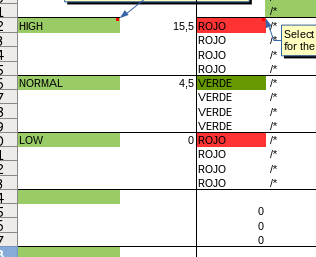
And select the ranges to be displayed in the documentation:
So we obtain documentation suitable for source code headers:
 /*          -----_________________________________*/
 /*          -----|                                */
 /*          -----|          HIGH                  */
 /*          -----|                                */
 /*          15,5v| - - - - - - - - - - - - - - -  */
 /*          -----|                                */
 /*          -----|          NORMAL                */
 /*          -----|                                */
 /*           4,5v| - - - - - - - - - - - - - - -  */
 /*          -----|                                */
 /*          -----|          LOW                   */
 /*          -----|                                */
 /*           0,0v|________________________________*/
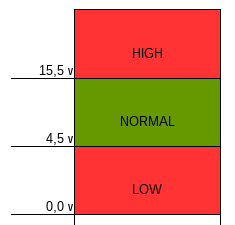
And for WYSIWYG documentation:
We will return later to this document in order to obtain automatically generated code directly from this specification in the implementation stage.